A winch is a powerful tool, essential for off-roading adventures, towing, and hauling heavy loads. However, a winch is only as reliable as its components, and over time, wear and tear can take a toll on the winch cable. A frayed or damaged winch cable can compromise its effectiveness and safety. In this blog, we provide a comprehensive guide on winch cable repair, empowering you to restore your winch to its full potential and continue using it with confidence.
Understanding Winch Cables
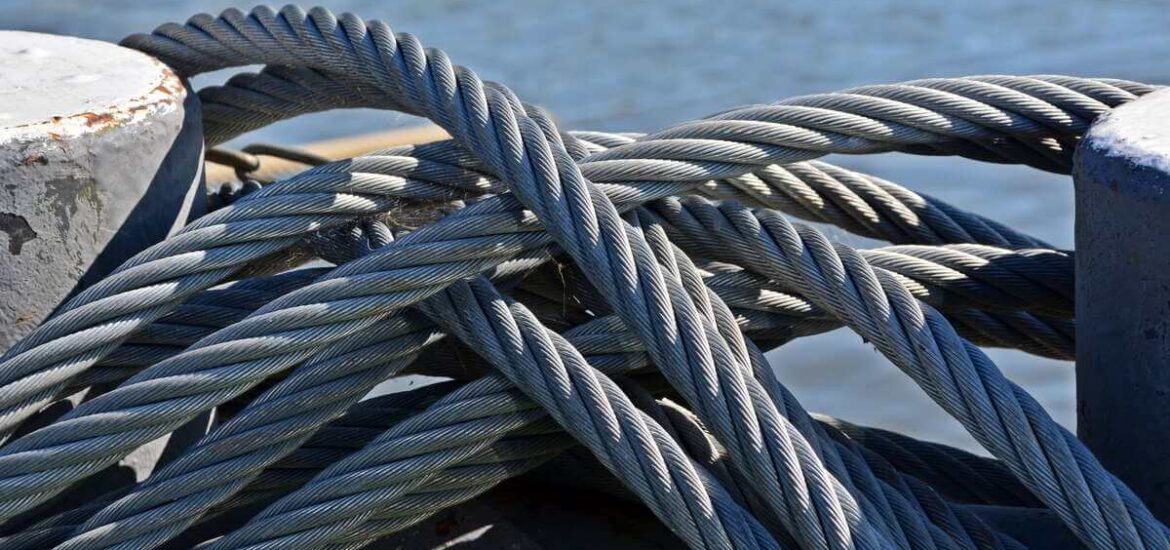
Types of Winch Cables
Winch cables are typically made of steel or synthetic materials. Steel cables are strong and durable, while synthetic cables are lightweight and easier to handle.
Signs of Winch Cable Damage
Inspect your winch cable regularly for signs of damage, such as fraying, kinks, rust, or broken wires. If you notice any of these issues, it’s time to repair or replace the cable to ensure safe and effective winching operations.
Preparing for Winch Cable Repair

Gather Necessary Tools and Materials
Before starting the repair process, ensure you have the necessary tools and materials, such as gloves, safety glasses, cable clamps, replacement cable, and a cable cutter.
Safety First
Winch cable repair can be hazardous, especially if the cable is under tension. Always wear appropriate safety gear and follow safety guidelines provided by the winch manufacturer.
Repairing a Steel Winch Cable
Assess the Damage
Carefully inspect the winch cable for any damage, paying close attention to areas with frayed or broken wires.
Cut and Remove Damaged Sections
Use a cable cutter to cut and remove the damaged sections of the cable. Ensure you cut cleanly through the cable to avoid any sharp edges.
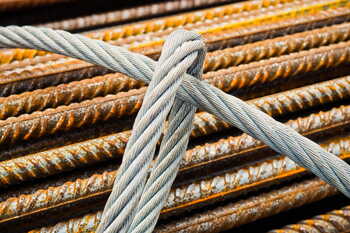
Attach a New Thimble
If the thimble (the metal loop at the end of the cable) is damaged, remove it and replace it with a new one.
Splice the Cable
To splice the cable, unravel the wires from the end of the cable and the new thimble. Then, intertwine the wires together, forming a strong splice.
Secure with Cable Clamps
Once the splice is complete, use cable clamps to secure the new thimble and the repaired cable.
Repairing a Synthetic Winch Cable
Evaluate the Damage
Inspect the synthetic winch cable for fraying or cuts, paying attention to the integrity of the synthetic fibers.
Trim and Seal Frayed Ends
If there are frayed ends on the cable, trim them carefully and use a heat source to melt and seal the ends to prevent further fraying.
Replace Severely Damaged Sections
For severely damaged sections, consider replacing the entire synthetic winch cable with a new one to ensure safety and reliability.
Post-Repair Inspection
 Test the Winch Cable
After the repair, perform a load test on the winch cable to ensure it can handle the intended load without any issues.
Lubricate the Cable
Properly lubricate the winch cable using a specialized winch cable lubricant to prevent corrosion and ensure smooth winching operations.
Winch Cable Maintenance Tips
Regular Inspection
Inspect the winch cable before and after each use. Look for signs of wear, corrosion, or any other damage that may compromise its integrity.
Proper Storage
When not in use, store the winch cable properly to prevent tangling and ensure longevity.
Avoid Overloading
Never exceed the winch’s rated capacity. Overloading the winch can lead to cable damage and winch failure.
Winch cable repair is a crucial skill for every winch owner. By understanding the types of winch cables, recognizing signs of damage, and following a step-by-step repair process, you can maintain the safety and effectiveness of your winch. Remember to prioritize safety during the repair process and perform regular maintenance to prolong the life of your winch cable. With the proper care and attention, your winch will continue to be a reliable companion on all your adventures, ensuring you can conquer challenging terrains with ease and confidence.