A well-organized wardrobe is the cornerstone of a clutter-free and functional living space. Building a wardrobe closet may seem like a daunting task, but with the right guidance and a touch of creativity, you can design and construct a customized storage solution that perfectly fits your needs. In this comprehensive guide, we’ll walk you through the step-by-step process of building your own wardrobe closet, turning an ordinary space into a personalized haven of organization.
-
Assessing Your Needs and Space
Before embarking on the construction of your wardrobe closet, take a moment to assess your storage needs and the available space. Consider the types of clothing and accessories you own, from long dresses to folded sweaters, and account for any specific storage requirements. Measure the space where the wardrobe will be located, taking note of dimensions and potential obstacles. This initial planning stage will guide the design and construction process.
-
Designing Your Wardrobe Closet
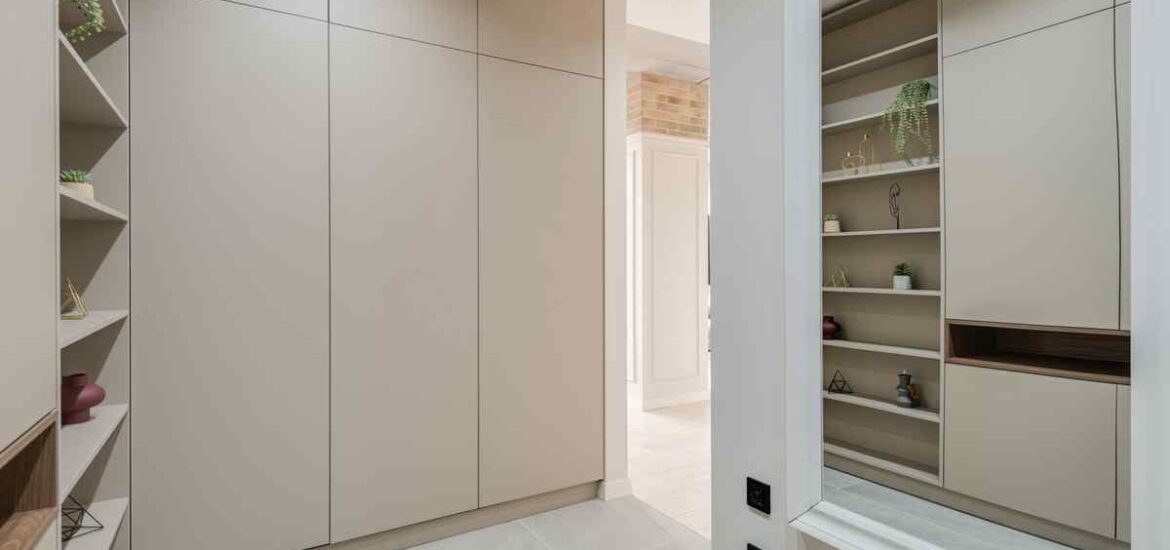
Once you have a clear understanding of your storage needs and available space, it’s time to design your wardrobe closet. Sketch out a rough design or use design software to visualize the layout. Consider elements such as hanging rods, shelves, drawers, and shoe racks. Think about whether you want open shelves for easy access or if you prefer doors to conceal your belongings. A well-thought-out design will ensure that your wardrobe closet is both functional and aesthetically pleasing.
-
Gathering Materials and Tools
With your design in hand, create a comprehensive list of materials and tools needed for the construction. The exact requirements will depend on your design, but common materials for building a wardrobe closet include plywood, MDF (Medium-Density Fiberboard), dowels, screws, brackets, and paint or finish for the final touch. Ensure you have the necessary tools, including a saw, drill, screwdriver, measuring tape, and a level, to facilitate a smooth construction process.
-
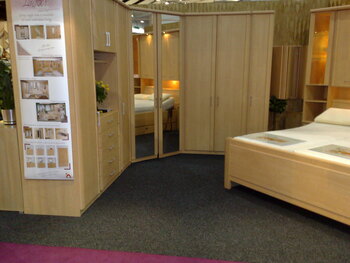
Constructing the Frame
The frame serves as the skeleton of your wardrobe closet, providing structure and support for the shelves and hanging rods. Use plywood or MDF to construct the vertical and horizontal elements of the frame, following your design specifications. Secure the pieces together using dowels and screws for added stability. Assemble the frame with precision, ensuring it aligns with your measurements to fit seamlessly into the designated space.
-
Adding Shelves and Hanging Rods
Once the frame is in place, it’s time to add shelves and hanging rods according to your design. Measure and cut the shelves to fit within the frame, securing them in place with brackets or additional dowels. Consider adjustable shelves to accommodate different types of clothing and accessories. Install hanging rods at appropriate heights, leaving enough space for longer garments. This step involves a careful balance of functionality and aesthetics to create a versatile storage solution.
-
Incorporating Drawers and Accessories
To maximize the utility of your wardrobe closet, consider incorporating drawers and accessories such as pull-out trays, baskets, or hooks. Build drawers using plywood or opt for pre-made drawer units that can be fitted into the wardrobe. Accessories like pull-out trays for accessories or baskets for small items can add a touch of organization to your closet. Customize these elements to suit your specific storage needs.
-
Finishing Touches: Painting or Staining
With the construction complete, add the finishing touches to your wardrobe closet by painting or staining the surfaces. Choose a finish that complements your overall design aesthetic and complements the existing decor of the room. This step not only enhances the visual appeal of your wardrobe but also adds a layer of protection to the surfaces, ensuring longevity and durability.
-
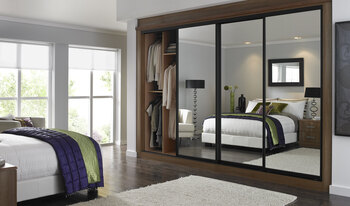
Installing Doors (Optional)
If you prefer a closet with doors to conceal your clothing and accessories, this is the stage to install them. Choose doors that match the style of your wardrobe and install them securely. Sliding doors are a popular choice for wardrobe closets as they save space and offer easy access. Alternatively, hinged doors can provide a classic look. Consider mirrors on the doors to add functionality and visually expand the space.
-
Securing the Wardrobe Closet in Place
Before declaring your wardrobe closet project complete, ensure that it is securely anchored in place. Use appropriate brackets or anchors to attach the wardrobe to the wall, preventing any risk of tipping. This step is crucial for stability, especially if your wardrobe is tall or if it will be holding a significant amount of clothing.
-
Organizing Your Clothing and Accessories
With your wardrobe closet fully constructed and securely in place, it’s time to bring order to your clothing and accessories. Group similar items together, utilize storage bins or baskets for smaller items, and arrange your wardrobe in a way that makes it easy to find what you need. Consider implementing additional organizational tools such as dividers, labels, or storage boxes to enhance the functionality of your newly built closet.
Conclusion
Building your own wardrobe closet is a rewarding endeavor that allows you to tailor your storage solution to meet your specific needs and style preferences. With careful planning, precise construction, and thoughtful organization, you can transform a simple space into a customized haven of order and accessibility. As you embark on this DIY journey, relish the satisfaction of creating a practical and aesthetically pleasing wardrobe closet that reflects your unique personality and enhances the functionality of your living space.