Refinishing kitchen cabinets is a cost-effective way to give your kitchen a fresh new look without the expense of a full renovation. Whether you want to update the style of your cabinets or simply refresh their appearance, refinishing is a great DIY project that can be completed over a weekend. In this guide, we’ll walk you through the process of refinishing kitchen cabinets, from preparation to finishing touches, and provide you with some inspiration to help you get started.
Preparation
 Before you begin refinishing your kitchen cabinets, it’s important to gather all the necessary materials and tools. Here’s what you’ll need:
- Screwdriver
- Sandpaper (medium and fine grit)
- Wood filler
- Putty knife
- Tack cloth
- Primer
- Paint or stain
- Paintbrushes or rollers
- Polyurethane sealer (optional)
Step 1: Remove the Cabinet Doors and Hardware
Start by removing the cabinet doors and drawer fronts, as well as any hardware such as handles and hinges. Use a screwdriver to carefully unscrew the hardware and set it aside in a safe place.
Step 2: Clean and Sand the Surfaces
Clean the cabinet doors, drawer fronts, and cabinet frames thoroughly to remove dirt, grease, and grime. Use a solution of warm water and mild detergent, and then rinse with clean water. Once dry, use medium-grit sandpaper to sand the surfaces lightly. This will help the primer adhere better.
Step 3: Fill Any Gaps or Holes
Inspect the surfaces for any gaps, holes, or imperfections. Use wood filler and a putty knife to fill these areas, and then sand them smooth once the filler has dried.
Step 4: Apply Primer
Apply a coat of primer to the cabinet doors, drawer fronts, and cabinet frames. Use a brush or roller to apply the primer evenly, and allow it to dry completely according to the manufacturer’s instructions.
 Step 5: Sand and Apply Paint or Stain
Once the primer is dry, lightly sand the surfaces with fine-grit sandpaper to smooth out any rough areas. Then, apply the paint or stain of your choice using a brush or roller. Be sure to apply thin, even coats and allow each coat to dry completely before applying the next.
Step 6: Apply a Sealer (Optional)
If you want added protection for your newly refinished cabinets, you can apply a coat of polyurethane sealer. This will help protect the paint or stain from scratches and stains.
Step 7: Reattach Hardware and Reinstall Cabinet Doors
Once the paint or stain is dry, reattach the hardware to the cabinet doors and drawer fronts. Then, reinstall the doors and drawer fronts onto the cabinet frames using the screwdriver.
Inspiration
Refinishing your kitchen cabinets opens up a world of design possibilities. Here are some ideas to inspire you:
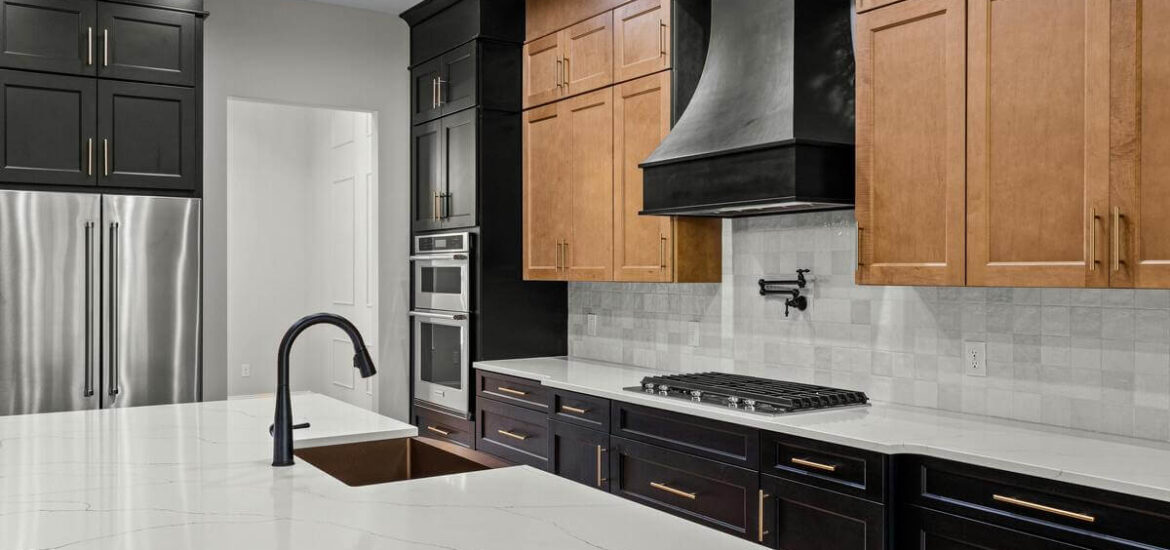
- Two-Tone Cabinets: Paint the upper and lower cabinets different colors for a modern, two-tone look.
- Distressed Finish: Create a distressed finish by sanding the edges and corners of the cabinets after painting or staining.
- Vintage Charm: Use a crackle finish or antique glaze to give your cabinets a vintage, aged appearance.
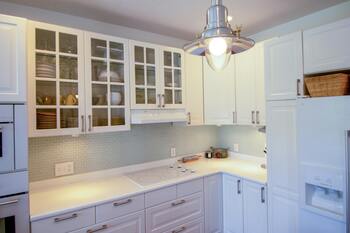
- Bold Colors: Make a statement with bold, eye-catching colors like navy blue, emerald green, or burnt orange.
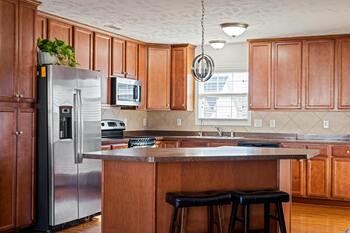
- Natural Wood: If you prefer a more natural look, opt for a stain that enhances the natural beauty of the wood.
Refinishing your kitchen cabinets is a rewarding project that can transform the look of your kitchen. With some basic tools and a little elbow grease, you can achieve professional-looking results that will breathe new life into your space. So, roll up your sleeves and get ready to give your kitchen cabinets a stunning makeover!